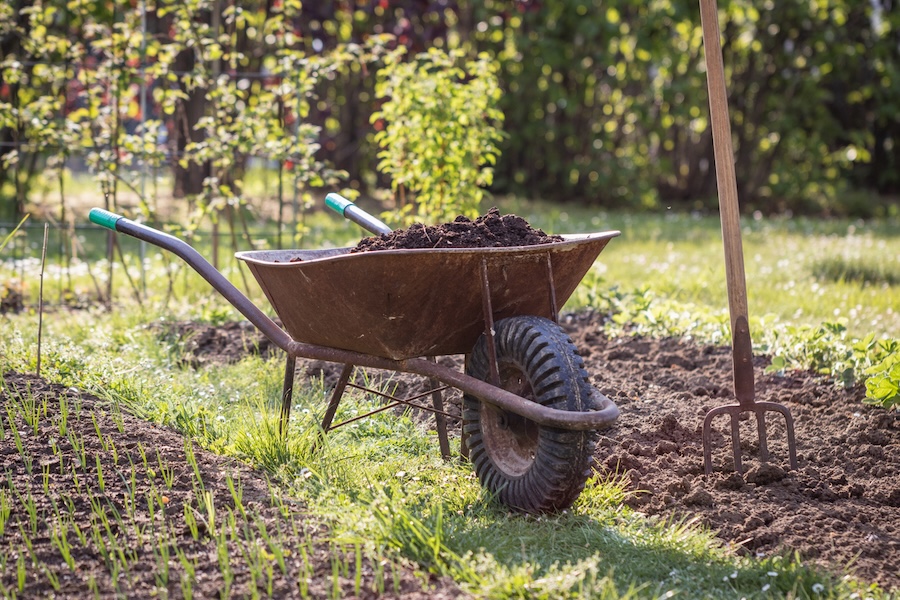
This spring, gardeners planning vegetable gardens — or even a major renovation of your ornamental beds — should take the opportunity to test their soil before they put plants in the ground.
One of the most fundamental, but often overlooked, aspects to any successful vegetable garden, flower bed, landscape or lawn is good, fertile soil. Getting your soil tested by a laboratory is the best and most accurate way to assess your nutrient and pH levels, which are vital components of maintaining your soil. The University of Georgia Soil, Plant and Water Lab offers such services.
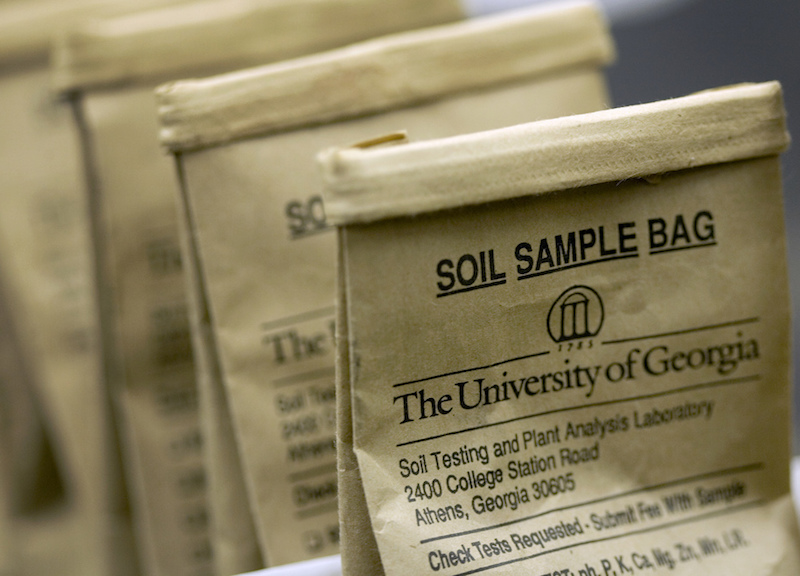
When you send a soil sample to a lab, you will receive a detailed report of soil-nutrient levels along with crop-based recommendations on how to fix any potential deficiencies. The steps required to submit a soil sample are simple and can be achieved using a few commonly found household items. You can start by contacting your local county UGA Cooperative Extension office to acquire soil bags and to get information on how to submit samples. Find your county office by visiting extension.uga.edu/county-offices or calling 1-800-ASK-UGA1.
When to soil test?
Soils can be tested any time during the year, although it is typically best to take samples in the fall or winter. This is the time of year when most plants are dormant and the soil is most accessible. If pH adjustments are necessary, it is also the best time to apply amendments, as it can take several months for them to take effect. Lime (to raise pH) and sulfur (to lower pH) react slowly and should be mixed with the soil at least two to three months before planting.
How often do I test my soil?
For intensely cultivated soils including vegetable gardens, an annual soil test is recommended. Otherwise, for lawns and ornamental areas, sampling should be done every two to three years after initially establishing medium to high fertility levels and the appropriate pH.
Steps in soil sampling
Recommendations on when and how to apply nutrients are only as good as the soil sample submitted for analysis. To obtain a representative soil sample, the following steps are useful:
- Map out the entire property. This will help in record keeping and ensure that the soil sample is representative of the entire area. Divide areas so that each soil sample represents one general plant type. For example, take separate soil samples for vegetable gardens, blueberry bushes, ornamentals, fruit trees, lawns, etc. If you have specific problem spots, sample those areas separately as well.
- Use clean sampling tools and containers to avoid contaminating the soil sample. Collect samples with any digging tool you have available (hand trowel, shovel, soil probe, etc.).
- Slightly damp soil is the easiest to work with. Clear the ground surface of grass, thatch or mulch. Push your tool to a depth of 6 inches for cultivated areas or 4 inches for lawn areas. Push the handle forward in the soil to make an opening, then cut a thin slice of soil of uniform thickness from the side of the opening, extending from the top of the ground to the depth of the cut. Repeat this process in a zigzag pattern across your defined area, collecting eight to twelve samples to mix together. For trees, take soil samples from six to eight spots around and below the leaf canopy. Take about a pint (around 2 cups) of the mixed soil (after removing large rocks, mulch, sticks and roots) and fill the UGA soil sample bag. Be sure to label the sample clearly on the bag. If the samples are wet, spread the soil out over clean paper and let them air dry. You also can take your samples to your local Extension office for submission. Once the lab has received your soil, it will take two to three business days to get your report.
For more information about when or how to test your soil, visit aesl.ces.uga.edu or call 1-800-ASK-UGA1 to contact your local UGA Extension office.

