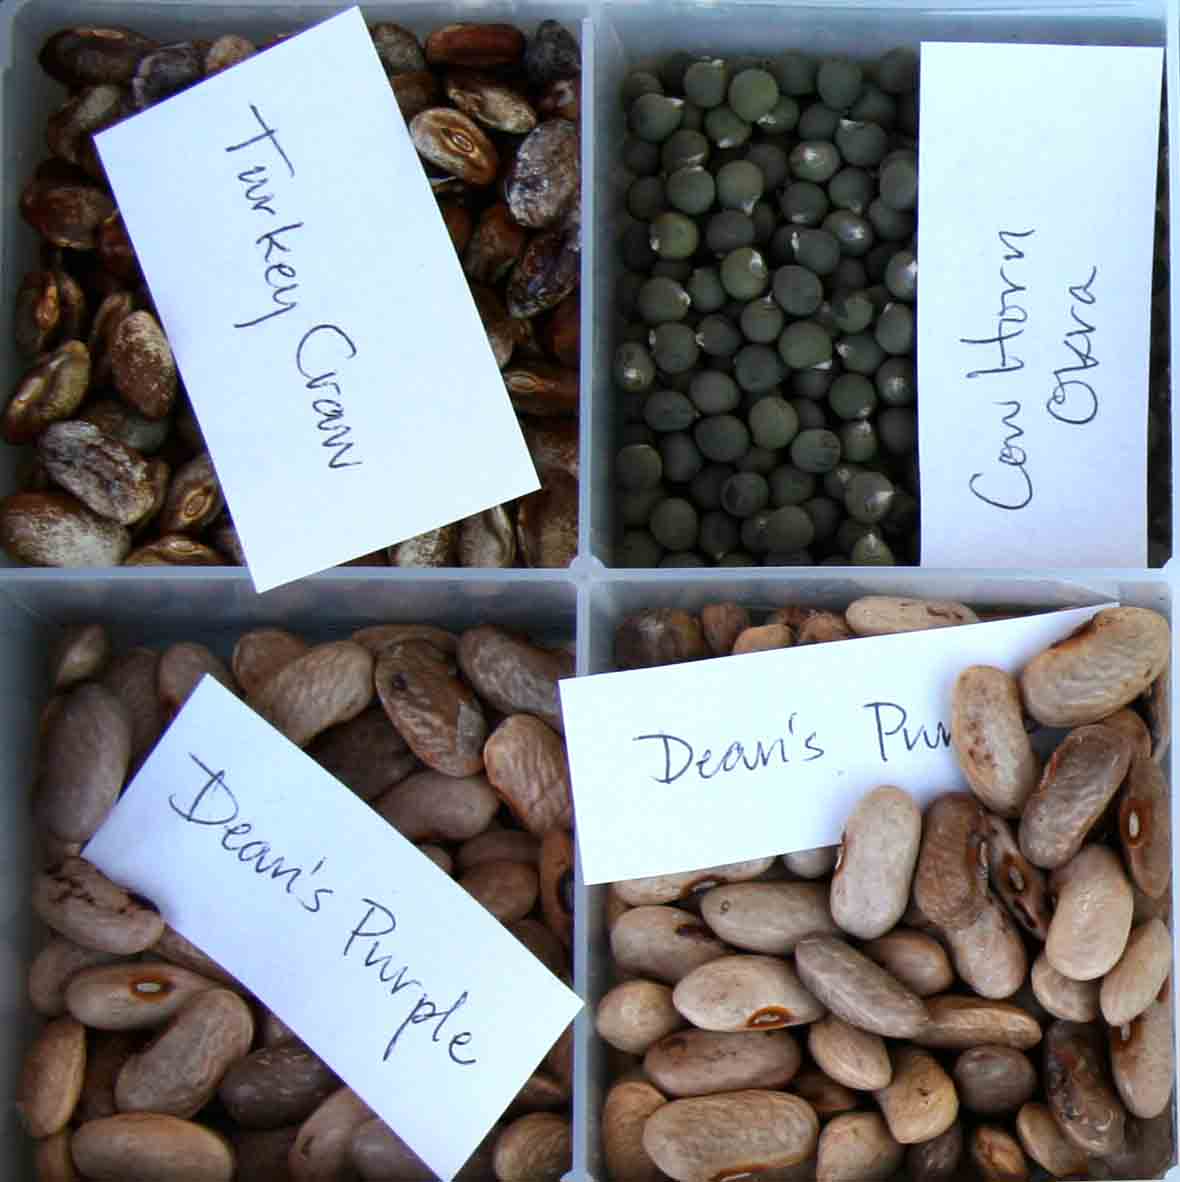
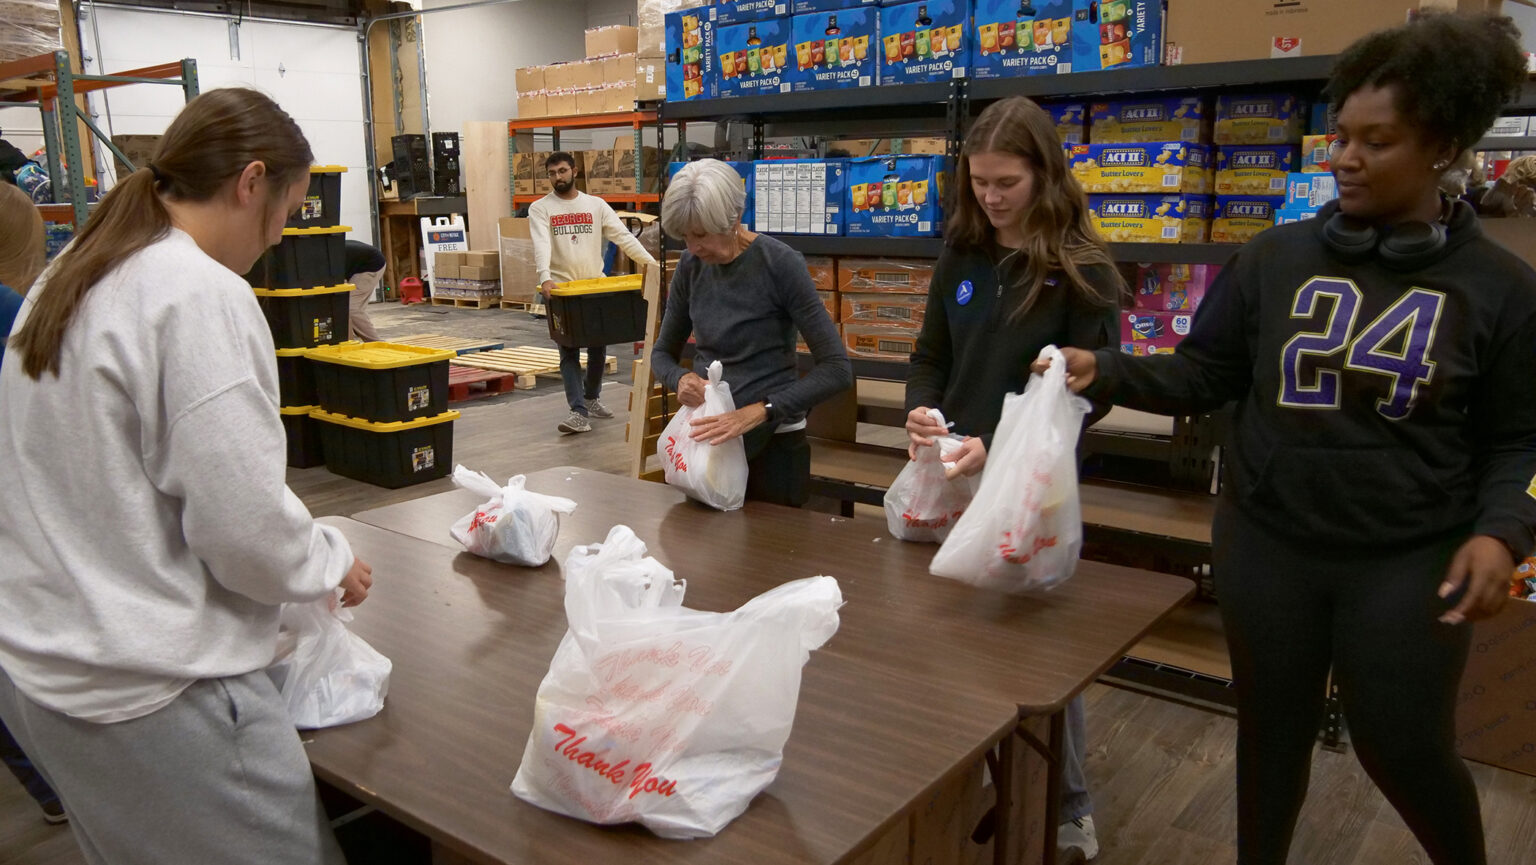
As more families grow their own food, there has been an increase in the number of people collecting their own seeds. Home gardeners who save their own seeds know exactly what plants they will be growing next year. Saving seeds also gives people a chance to swap seeds with other gardeners.
The general concept of seed saving is allowing specific annual vegetable plants to grow to full maturity — until the fruit is over ripe — and then harvesting and saving the seeds from the fruit.
Which seeds should you save?
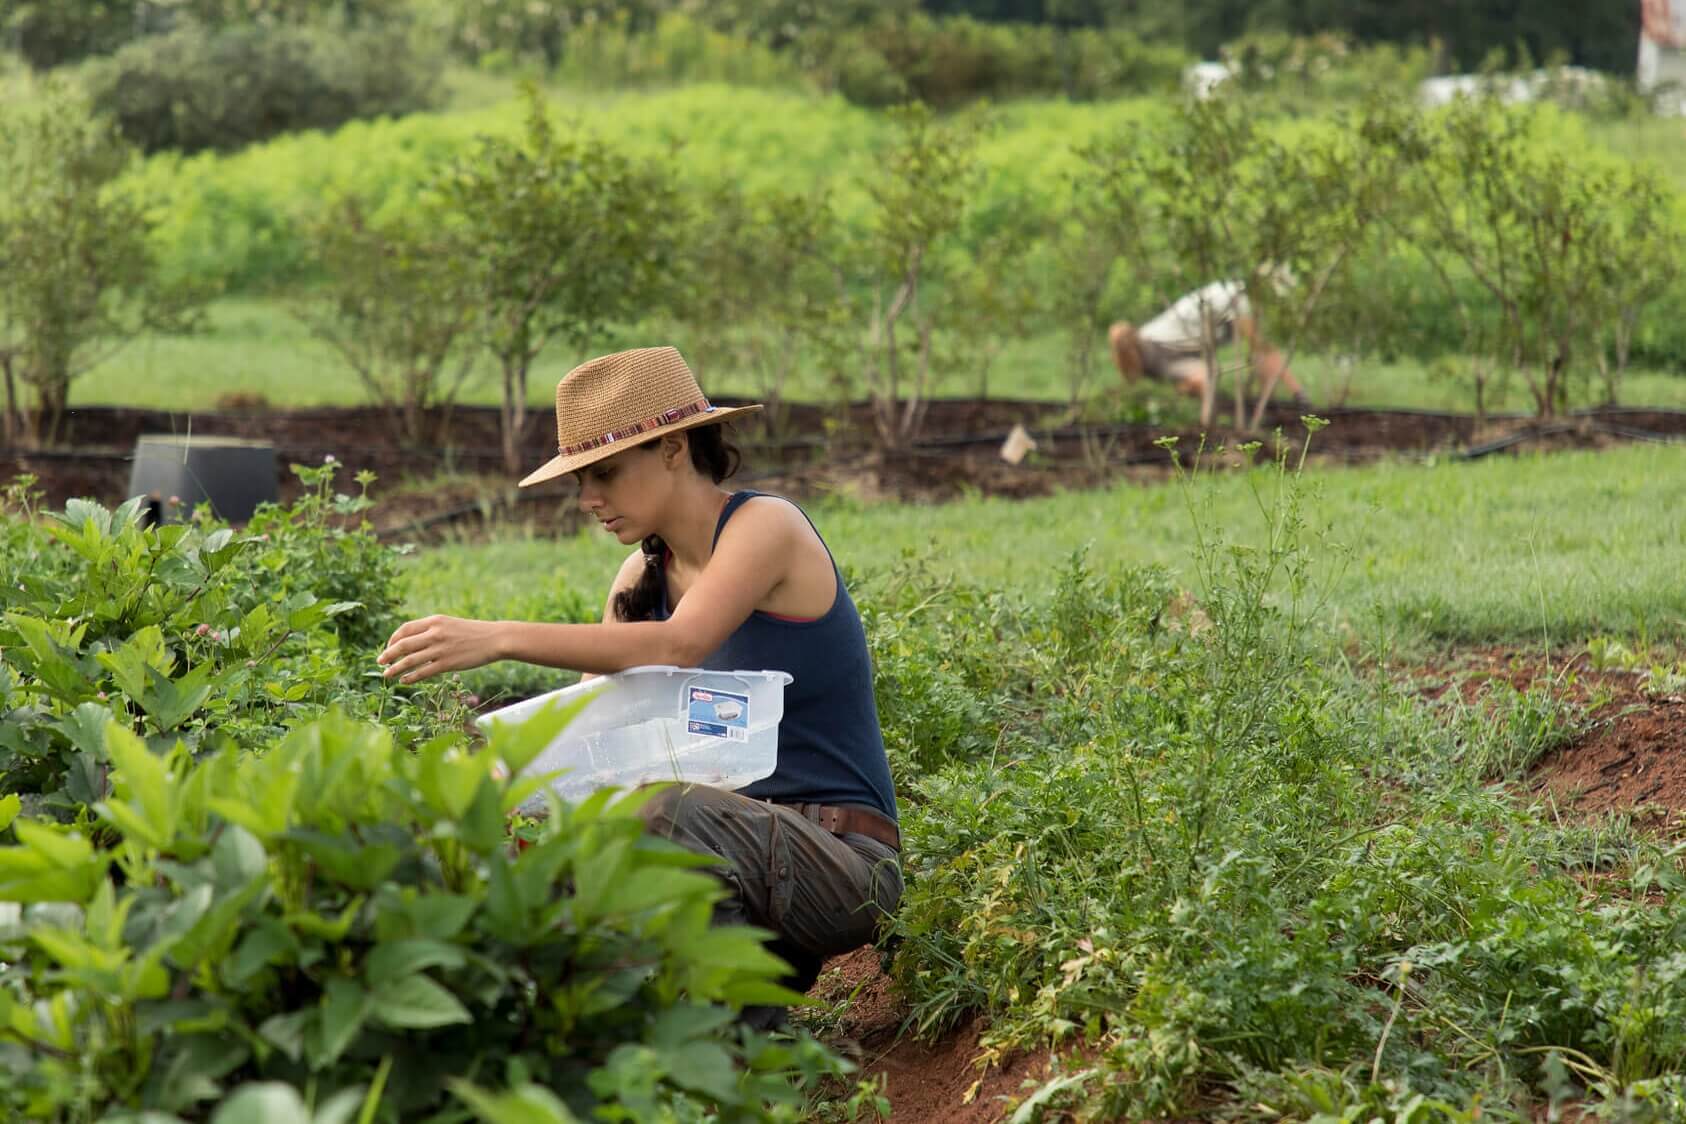
The primary thing to keep in mind with seed saving is to only collect seeds from healthy plants. If a plant appears diseased in any way, it will not be a good choice since some diseases are seed borne and could cause problems in the future.
Heirloom tomatoes, peppers, beans and pea plants are great for beginning seed savers because they self-pollinate and typically don’t collect genetic traits from nearby plants.
By collecting the seeds from plants that performed the best this summer, you can breed your own selection of vegetable plants and save many of the genetic characteristics that make those plants well suited for your particular garden.
For instance, if you grow a tomato plant that is resistant to a certain disease, allow that plant to reach maturity and save seeds from it so that this disease-resistant trait is passed along to future generations.
How and when do you harvest seeds?
If you are not familiar with the idea of allowing a vegetable plant to reach maturity, this is when the fruits are allowed to fully ripen on the plant. This will allow the plant to produce viable seed, which can be saved for planting in future years.
For peas and beans, maturity is when the pods have dried and turned brown on the plant, but before they split open and release the seeds. The pods can then be shelled or broken open to remove the seeds.
For tomatoes, maturity is reached when the fruits are slightly overripe. Slice these overripe tomatoes and put the seeded portions in an open top container with enough water to cover in a warm environment for three to five days. Make sure to stir the mixture once a day. This allows the mixture to ferment and removes the gel surrounding the seeds. Add water to the fermented mixture, and the healthy, mature seeds will sink to the bottom. The immature seeds will float.
Use a combination of pouring off the pulp and a strainer to collect the viable (mature) tomato seeds. These seeds can then be dried on a flat surface for a few days. Do not dry them on paper or cloth because they will stick. Don’t dry them in the oven or in direct sunlight, since this can remove too much moisture.
Store the seeds in a cool, dry and dark place until they will be used. I often store my seeds in mason jars with a good air-tight lid and then place these in the refrigerator. If you place the seeds in paper envelopes for each type, many seeds can fit in the jars. The good news is that many vegetable seeds can last three to four years or more with proper storage.
Peppers are also easy to save. Allow the fruits to reach a wrinkled state on the plant. Then cut the fruit open and remove the seeds. They will need to dry before storing for the winter.
Advanced seed saving requires patience and space.
More advanced seed savers may want to save vegetable seeds from plants that cross-pollinate. This can be tricky because gardeners must isolate these plants, or at least the flowers, to ensure the seeds collected will produce the same or very similar plants they did this summer.
For instance, if you want to save seeds from your squash but have also planted cucumbers or pumpkins, you will need to have isolation measures in place to prevent cross-pollination. This isolation can be achieved through distance, time or physical barriers.
To isolate plants through distance you will need to have a good understanding of your crop. Distances required for isolation vary by crop. Contact your local Extension office for more information.
Time isolation is easy to accomplish. Just make sure plants of the same family flower at different times of the season to prevent cross-pollination. The resources below also have information on plant families in case you are not sure which plants are closely related.
Physical barriers can be anything from cages or bags, to large shrubs or walls. Shrubs and walls help reduce wind and insect-borne pollen transfer. Cages and bags are often used by growers who want to better isolate the plants and pollen for seed saving.
A bag can be placed around a flower before it opens to prevent cross-pollination. Keep in mind that pollination still needs to occur for seeds to be produced.
Many seed savers will use a small paintbrush to pollinate these flowers by hand to ensure good pollination. After hand pollinating, it is important to place the bag or cage back into place to ensure cross-pollination does not occur with other vegetables in the same family. It’s also important to collect seeds from multiple plants to make sure there is still some genetic diversity present.
Next spring, when you start your seedlings, you’ll have one less trip to make to the garden store thanks to your saved seeds. You’ll also have the peace of mind that comes from knowing that your garden will be full of plants well suited to your area.
For more in-depth information on seed saving, reference “Seed to Seed” by Suzanne Ashworth or the Organic Seed Alliance’s online guide to seed saving at www.seedalliance.org/uploads/publications/Seed_Saving_Guide.pdf.